Shopping Cart

Your cart is currently empty.

When you add a product, it will appear here. Ready to get started?

The Growing Weed Stages: From Clone to Harvest

Whether you’re a first-time grower or scaling up a commercial operation, understanding the life cycle of cannabis from clone to harvest is key to producing healthy plants and potent buds. Clones offer a head start by skipping the seedling stage—but success still depends on careful attention at each stage of the plant’s development.

Here’s a step-by-step guide to growing cannabis from a clone all the way to a successful harvest:


🌿 Stage 1: Rooting the Clone (Week 0–2)

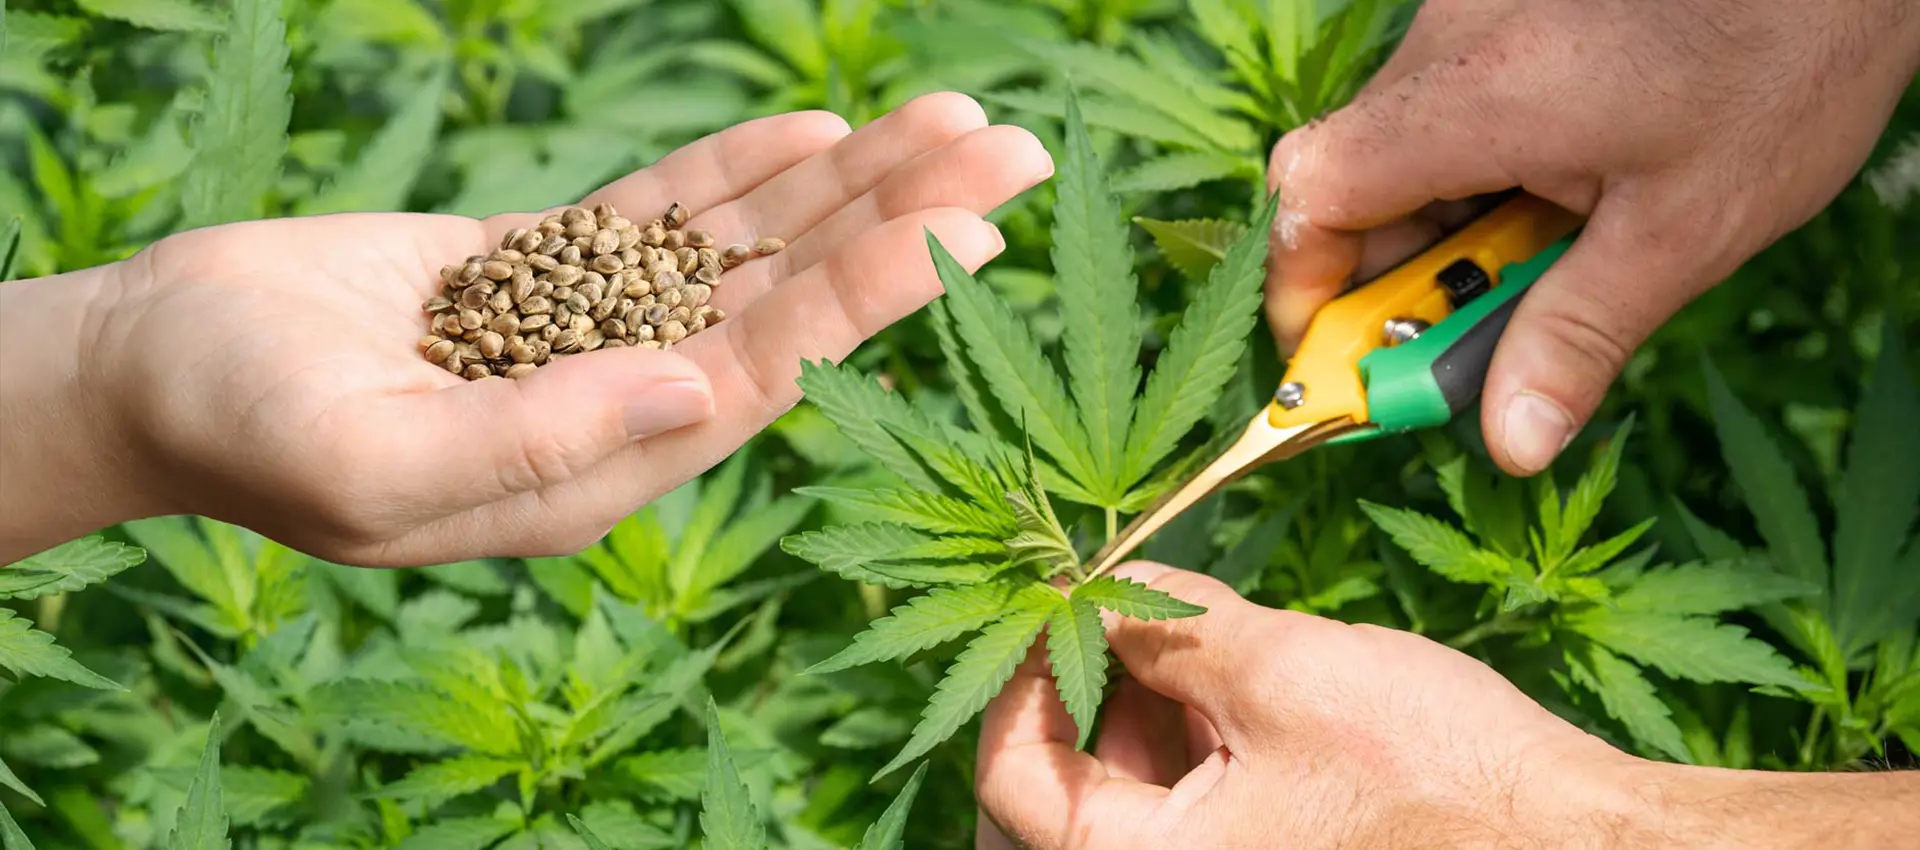
Clones are cuttings taken from a “mother” plant, containing identical genetics. These cuttings need time to develop roots before serious growth begins.

Environment Tips:

  • Humidity: 70–80%
  • Temperature: 72–78°F
  • Light: 18–24 hours of gentle light per day (T5, LED, or low-output CFL)
  • Use a humidity dome or mist regularly to keep leaves hydrated.
  • Rooting hormone and well-aerated starter cubes help speed root formation.

Timeline: 7–14 days for roots to fully develop.


🌞 Stage 2: Vegetative Growth (Week 2–6+)

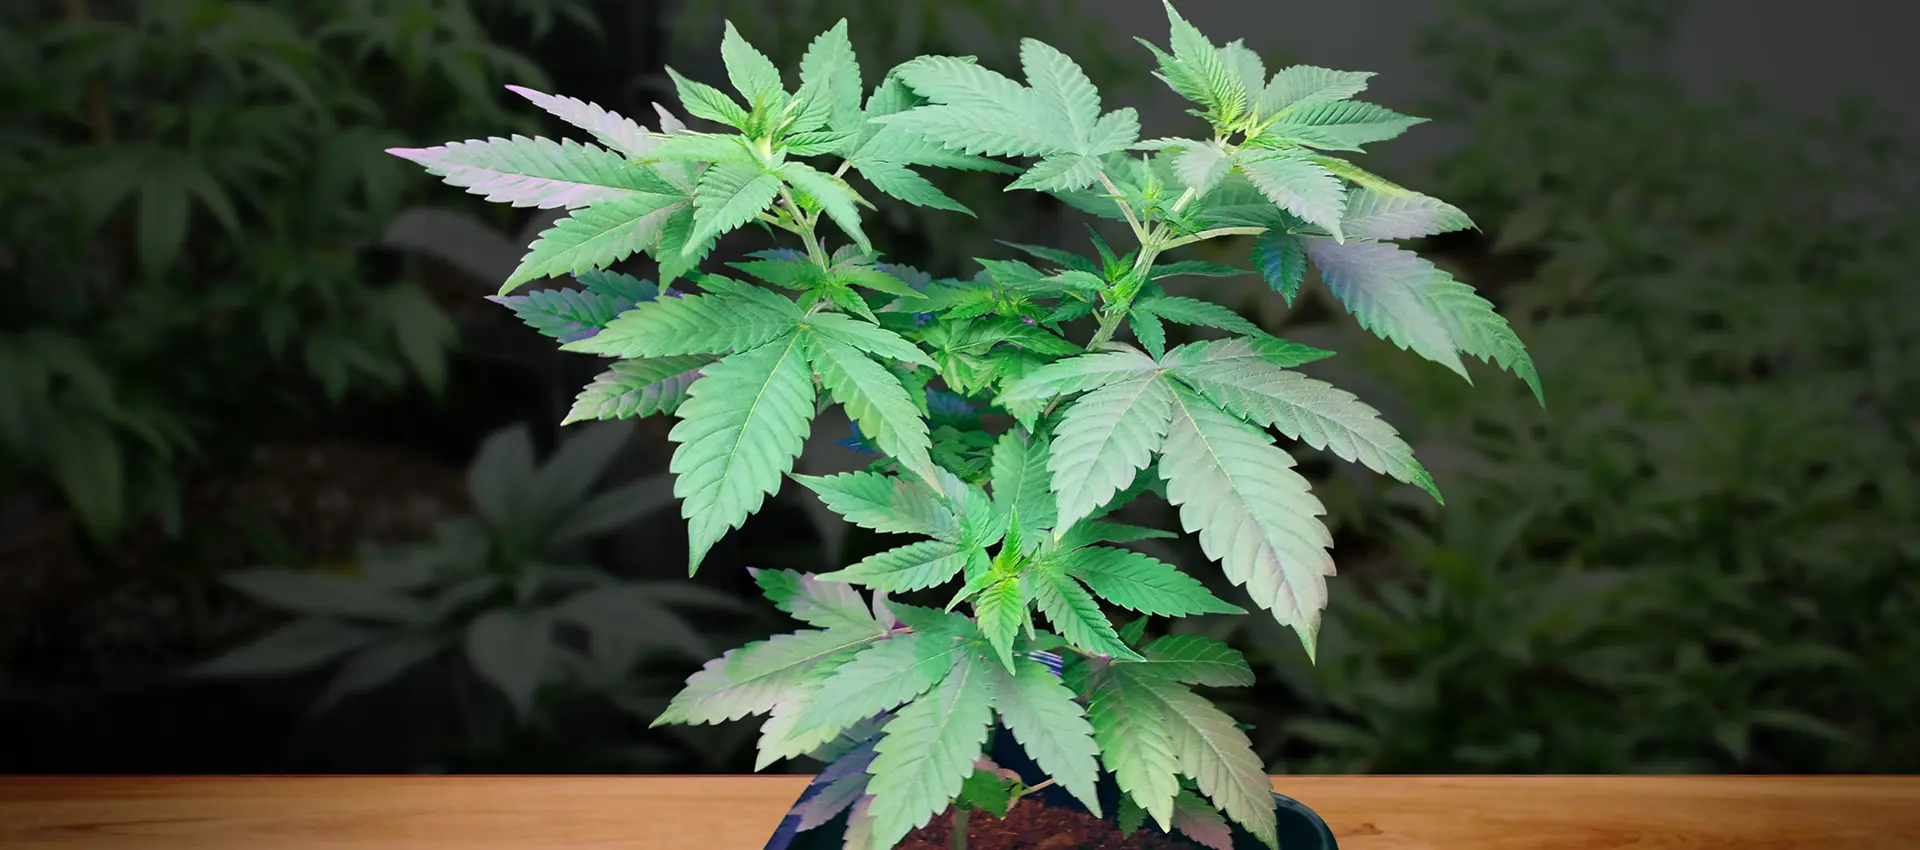
Once roots are healthy and visible, transplant your clones into their final medium (soil, coco, or hydro). This is when your plants start to bulk up in size, develop strong stems, and grow their signature leaf structure.

Key Focus Areas:

  • Light: 18–24 hours/day, with higher intensity (LED or MH lights)
  • Nutrients: Begin low-dose feeding with nitrogen-rich veg nutrients.
  • Training: Begin low-stress training (LST) or topping to manage height and shape.
  • Environment: 65–80°F, 50–70% humidity

Timeline: 3–6 weeks, depending on size goals and strain.


🌼 Stage 3: Flowering (Week 6–16)

When you flip your light cycle to 12 hours on, 12 hours off, the plant transitions into the flowering stage, where bud production begins.

Early Flower (Weeks 1–3):

  • The plant stretches rapidly (“flower stretch”).
  • Pistils (white hairs) begin to form at bud sites.

Mid Flower (Weeks 4–6):

  • Buds begin to thicken and trichomes (resin glands) appear.
  • Maintain bloom nutrients rich in phosphorus and potassium.

Late Flower (Weeks 7–10+):

  • Trichomes become milky/cloudy.
  • Pistils darken and curl inward.
  • Reduce nitrogen; flush near the end.

Environment Tips:

  • Temp: 65–78°F
  • Humidity: 40–50% (drop to 30–40% in final 2 weeks to avoid mold)
  • Good airflow is crucial to prevent bud rot.

Timeline: Typically 8–10 weeks, though some strains take longer.


✂️ Stage 4: Harvest Time

Once trichomes turn mostly cloudy with some amber (use a microscope or loupe to check), it’s time to harvest.

Signs It’s Ready:

  • 70–90% of pistils have darkened.
  • Trichomes are cloudy/milky with some amber.
  • Buds are dense and aromatic.

Harvest Steps:

  1. Cut branches or entire plants.
  2. Trim large fan leaves.
  3. Prepare for drying.

🌬️ Stage 5: Drying & Curing

Drying:

  • Hang branches upside down in a dark, ventilated room.
  • Temp: 60–70°F | Humidity: 50–60%
  • Dry for 7–10 days until stems snap rather than bend.

Curing:

  • Place dried buds in airtight jars.
  • Open daily for the first week (burping) to release moisture.
  • Cure for at least 2–4 weeks to improve flavor and smoothness.

🌟 Final Thoughts

Growing cannabis from clone to harvest is a rewarding journey. Clones offer a faster, more predictable start, and with the right care at each stage—from rooting to flowering to curing—you can yield top-shelf flower consistently.

Whether you’re growing for personal use or running a commercial canopy, mastering the grow stages ensures potency, aroma, and bag appeal in every harvest.

Categories

Leave a Reply

Your email address will not be published.

Select the fields to be shown. Others will be hidden. Drag and drop to rearrange the order.
  • Image
  • SKU
  • Rating
  • Price
  • Stock
  • Availability
  • Add to cart
  • Description
  • Content
  • Weight
  • Dimensions
  • Additional information
Click outside to hide the comparison bar
Compare